Introduction
If you use Tapestry at work (or you have friends), Tapestry is a way to coordinate your work with other people. This guide explains how to set up a Team, invite people, and share workspaces.
Widget Inc is a small company that wants to coordinate their manufacturing process. Dana is the founder, and starts the team by going to the Teams page in Settings:
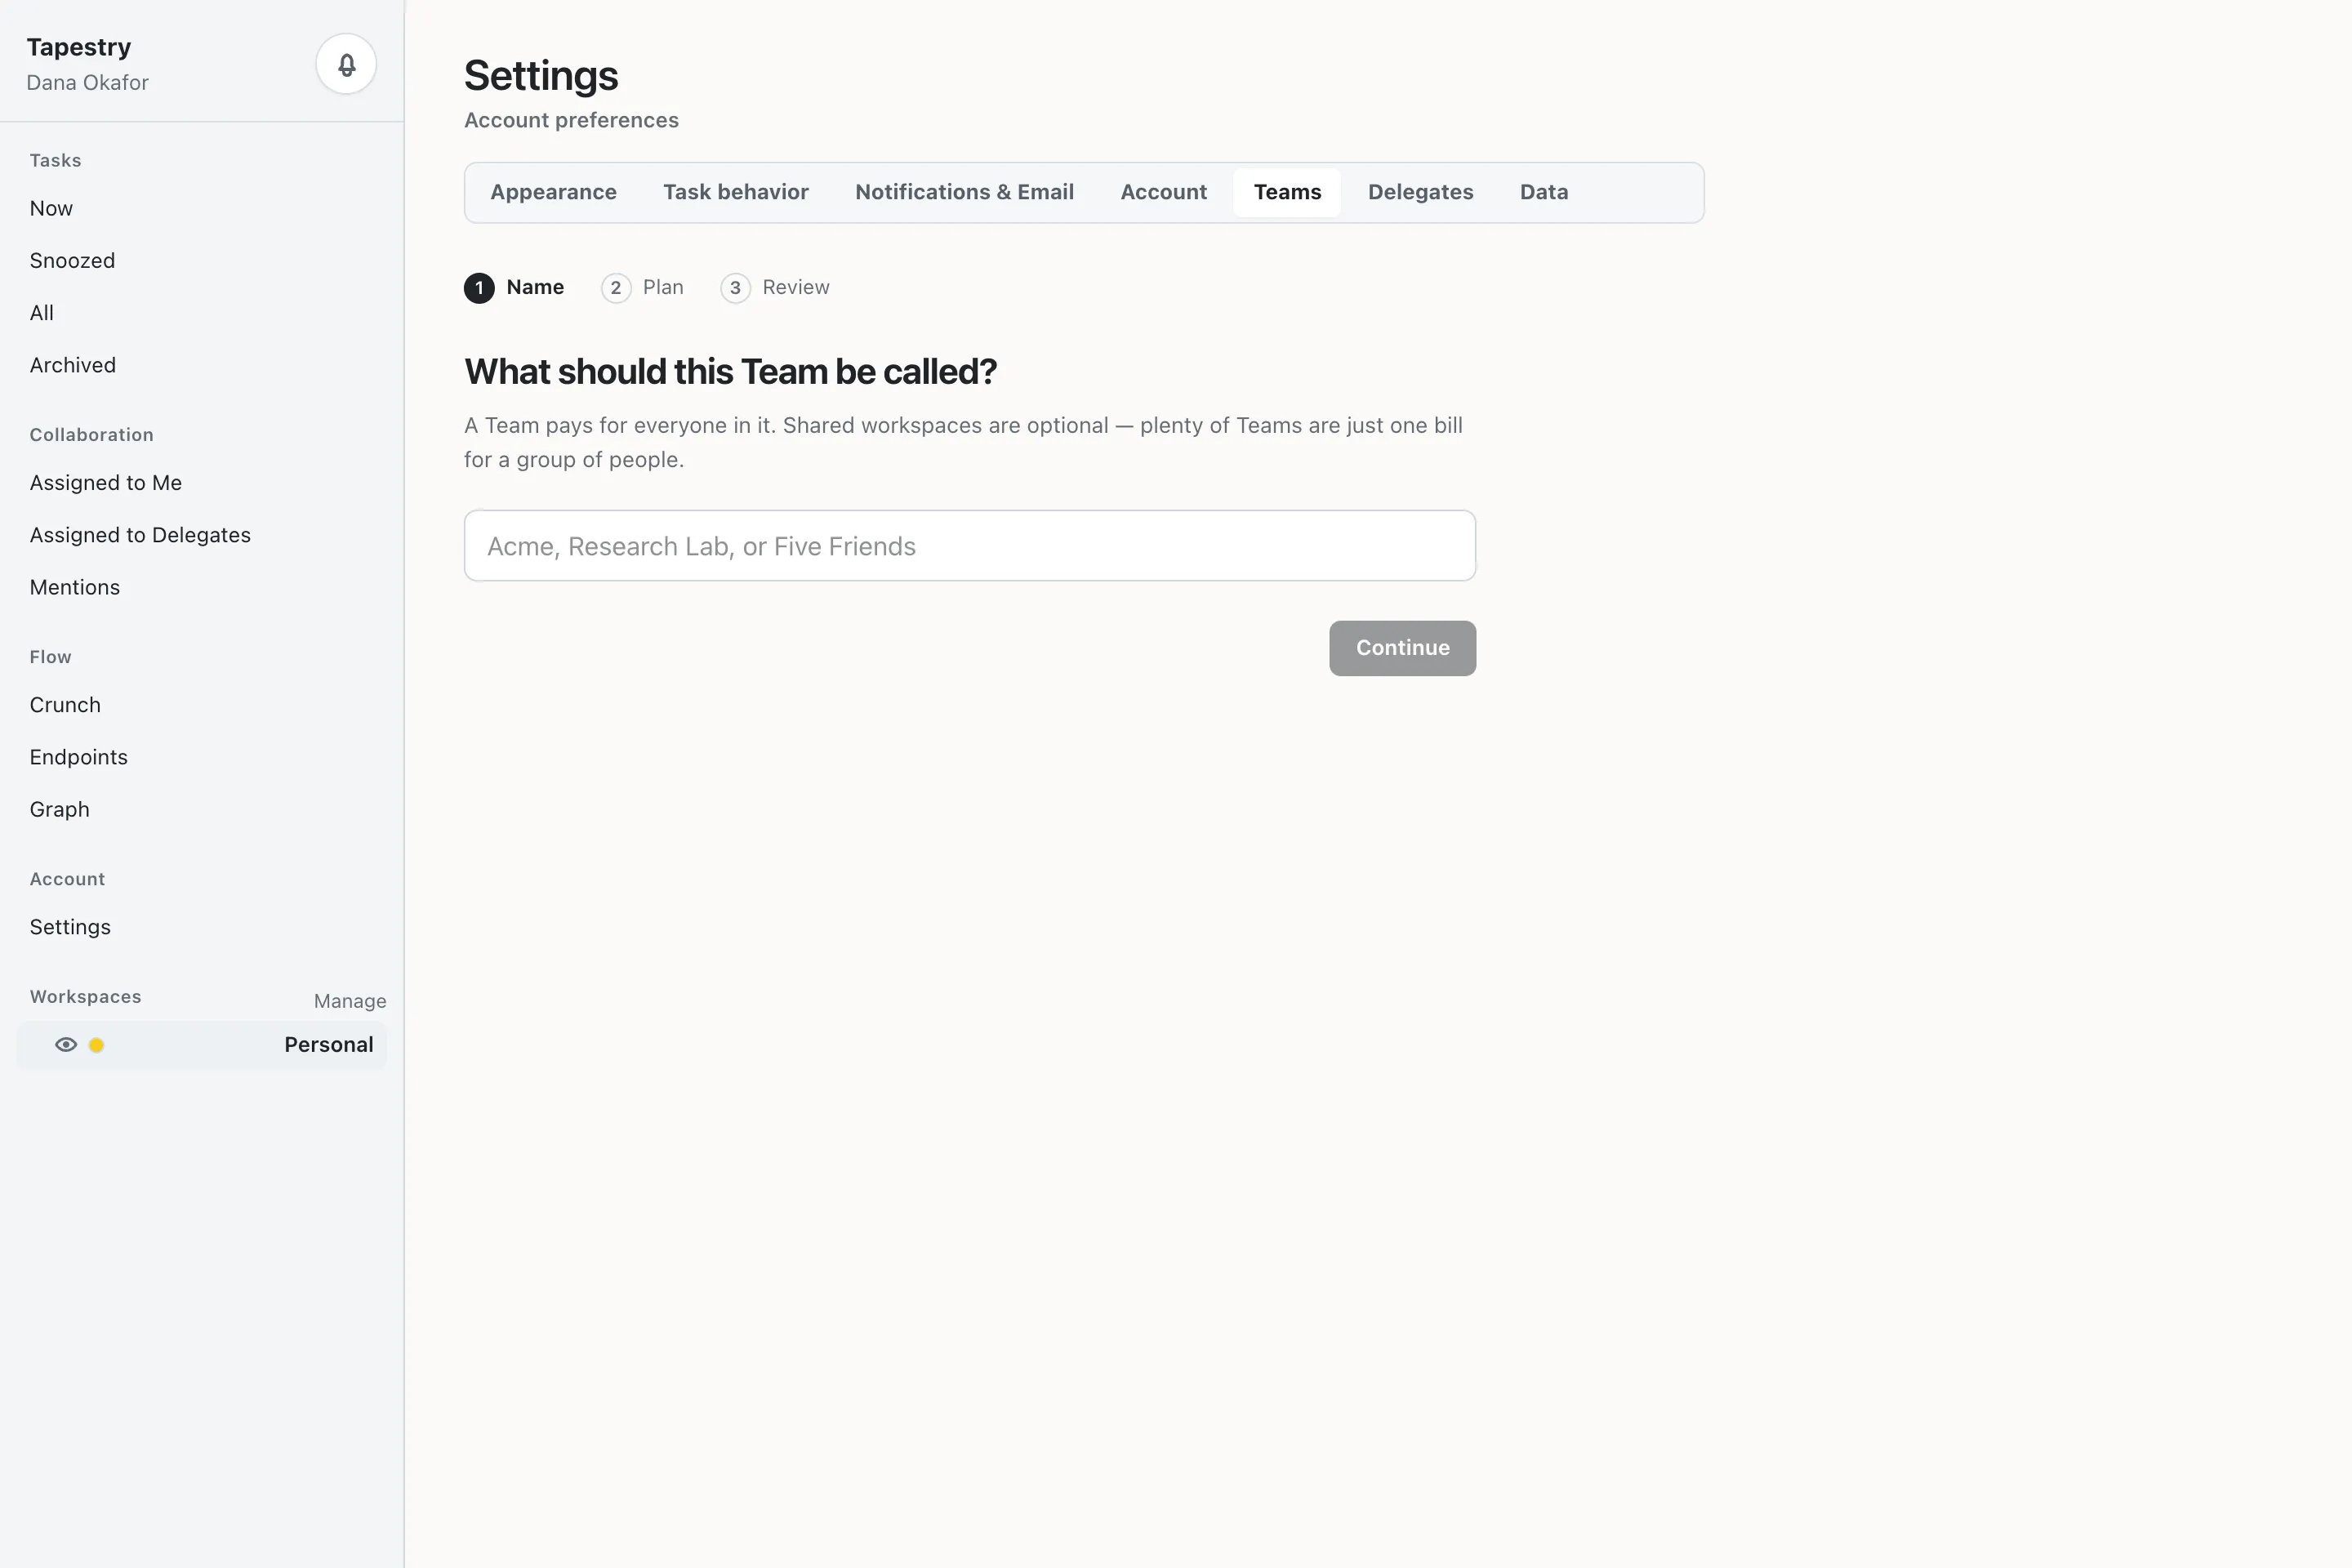
Creating the team and selecting a plan will only charge you for the seats you actually use. You can add more seats later, and remove them if you don’t need them, and the cost will be prorated.
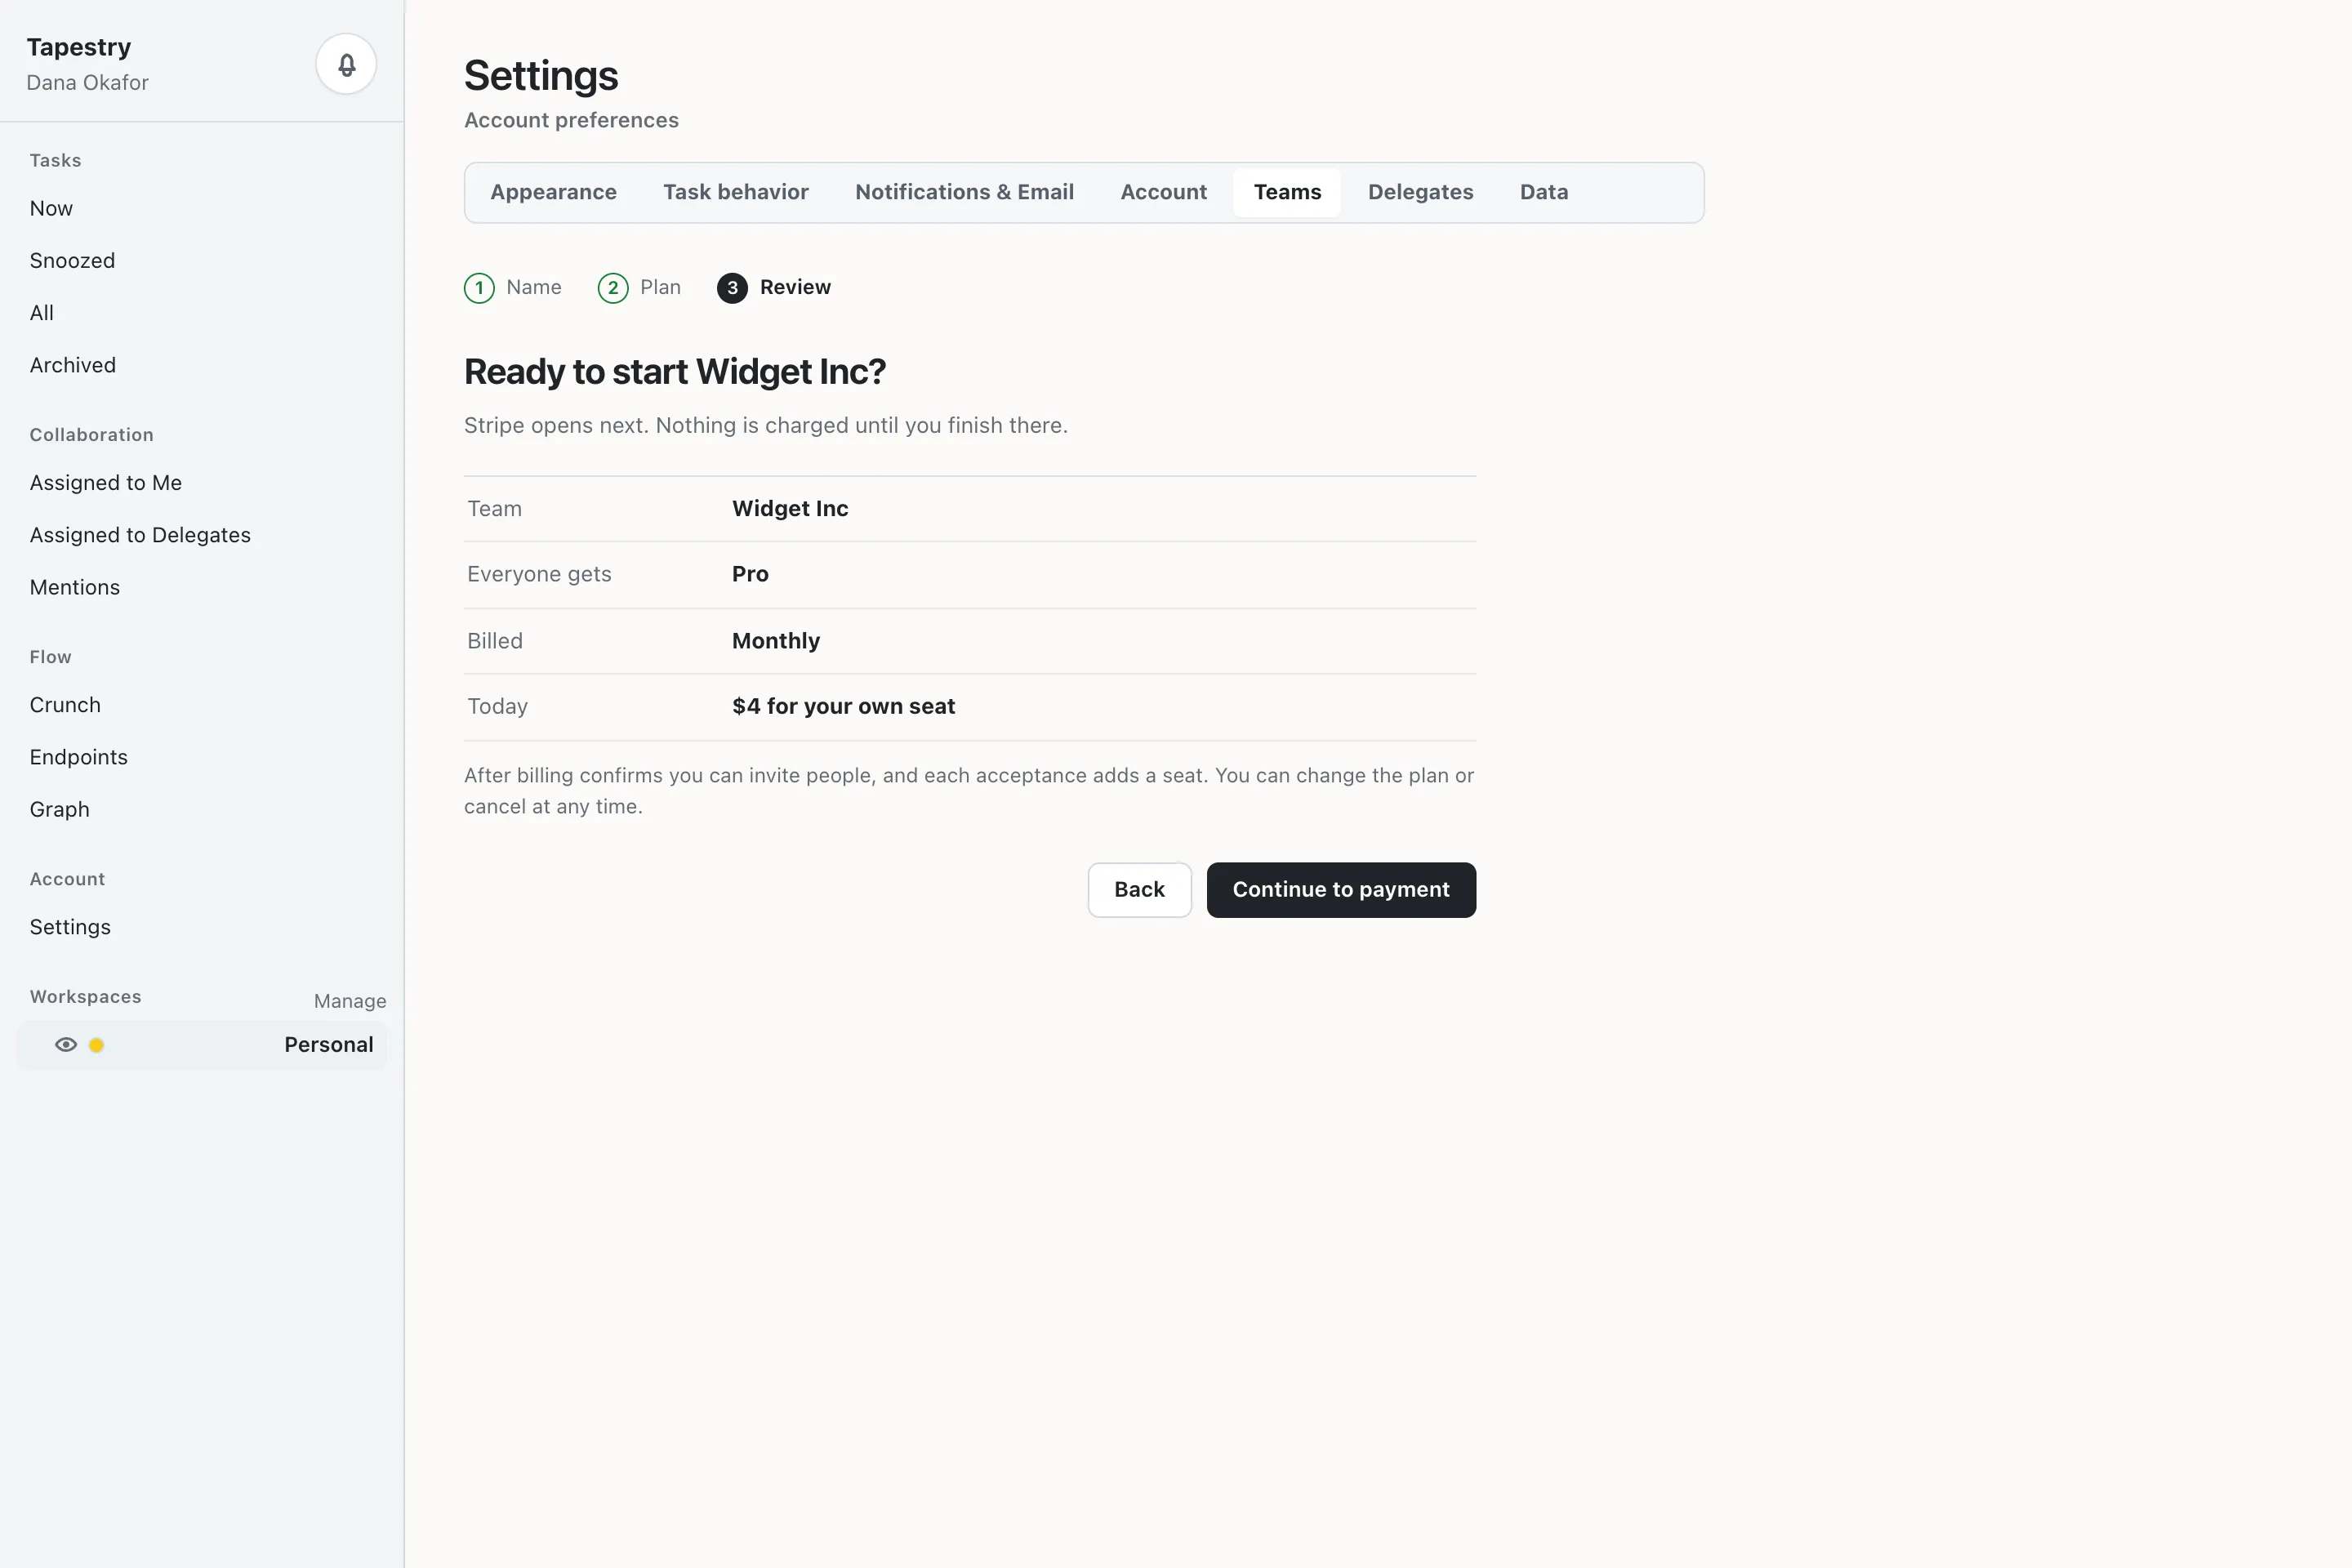
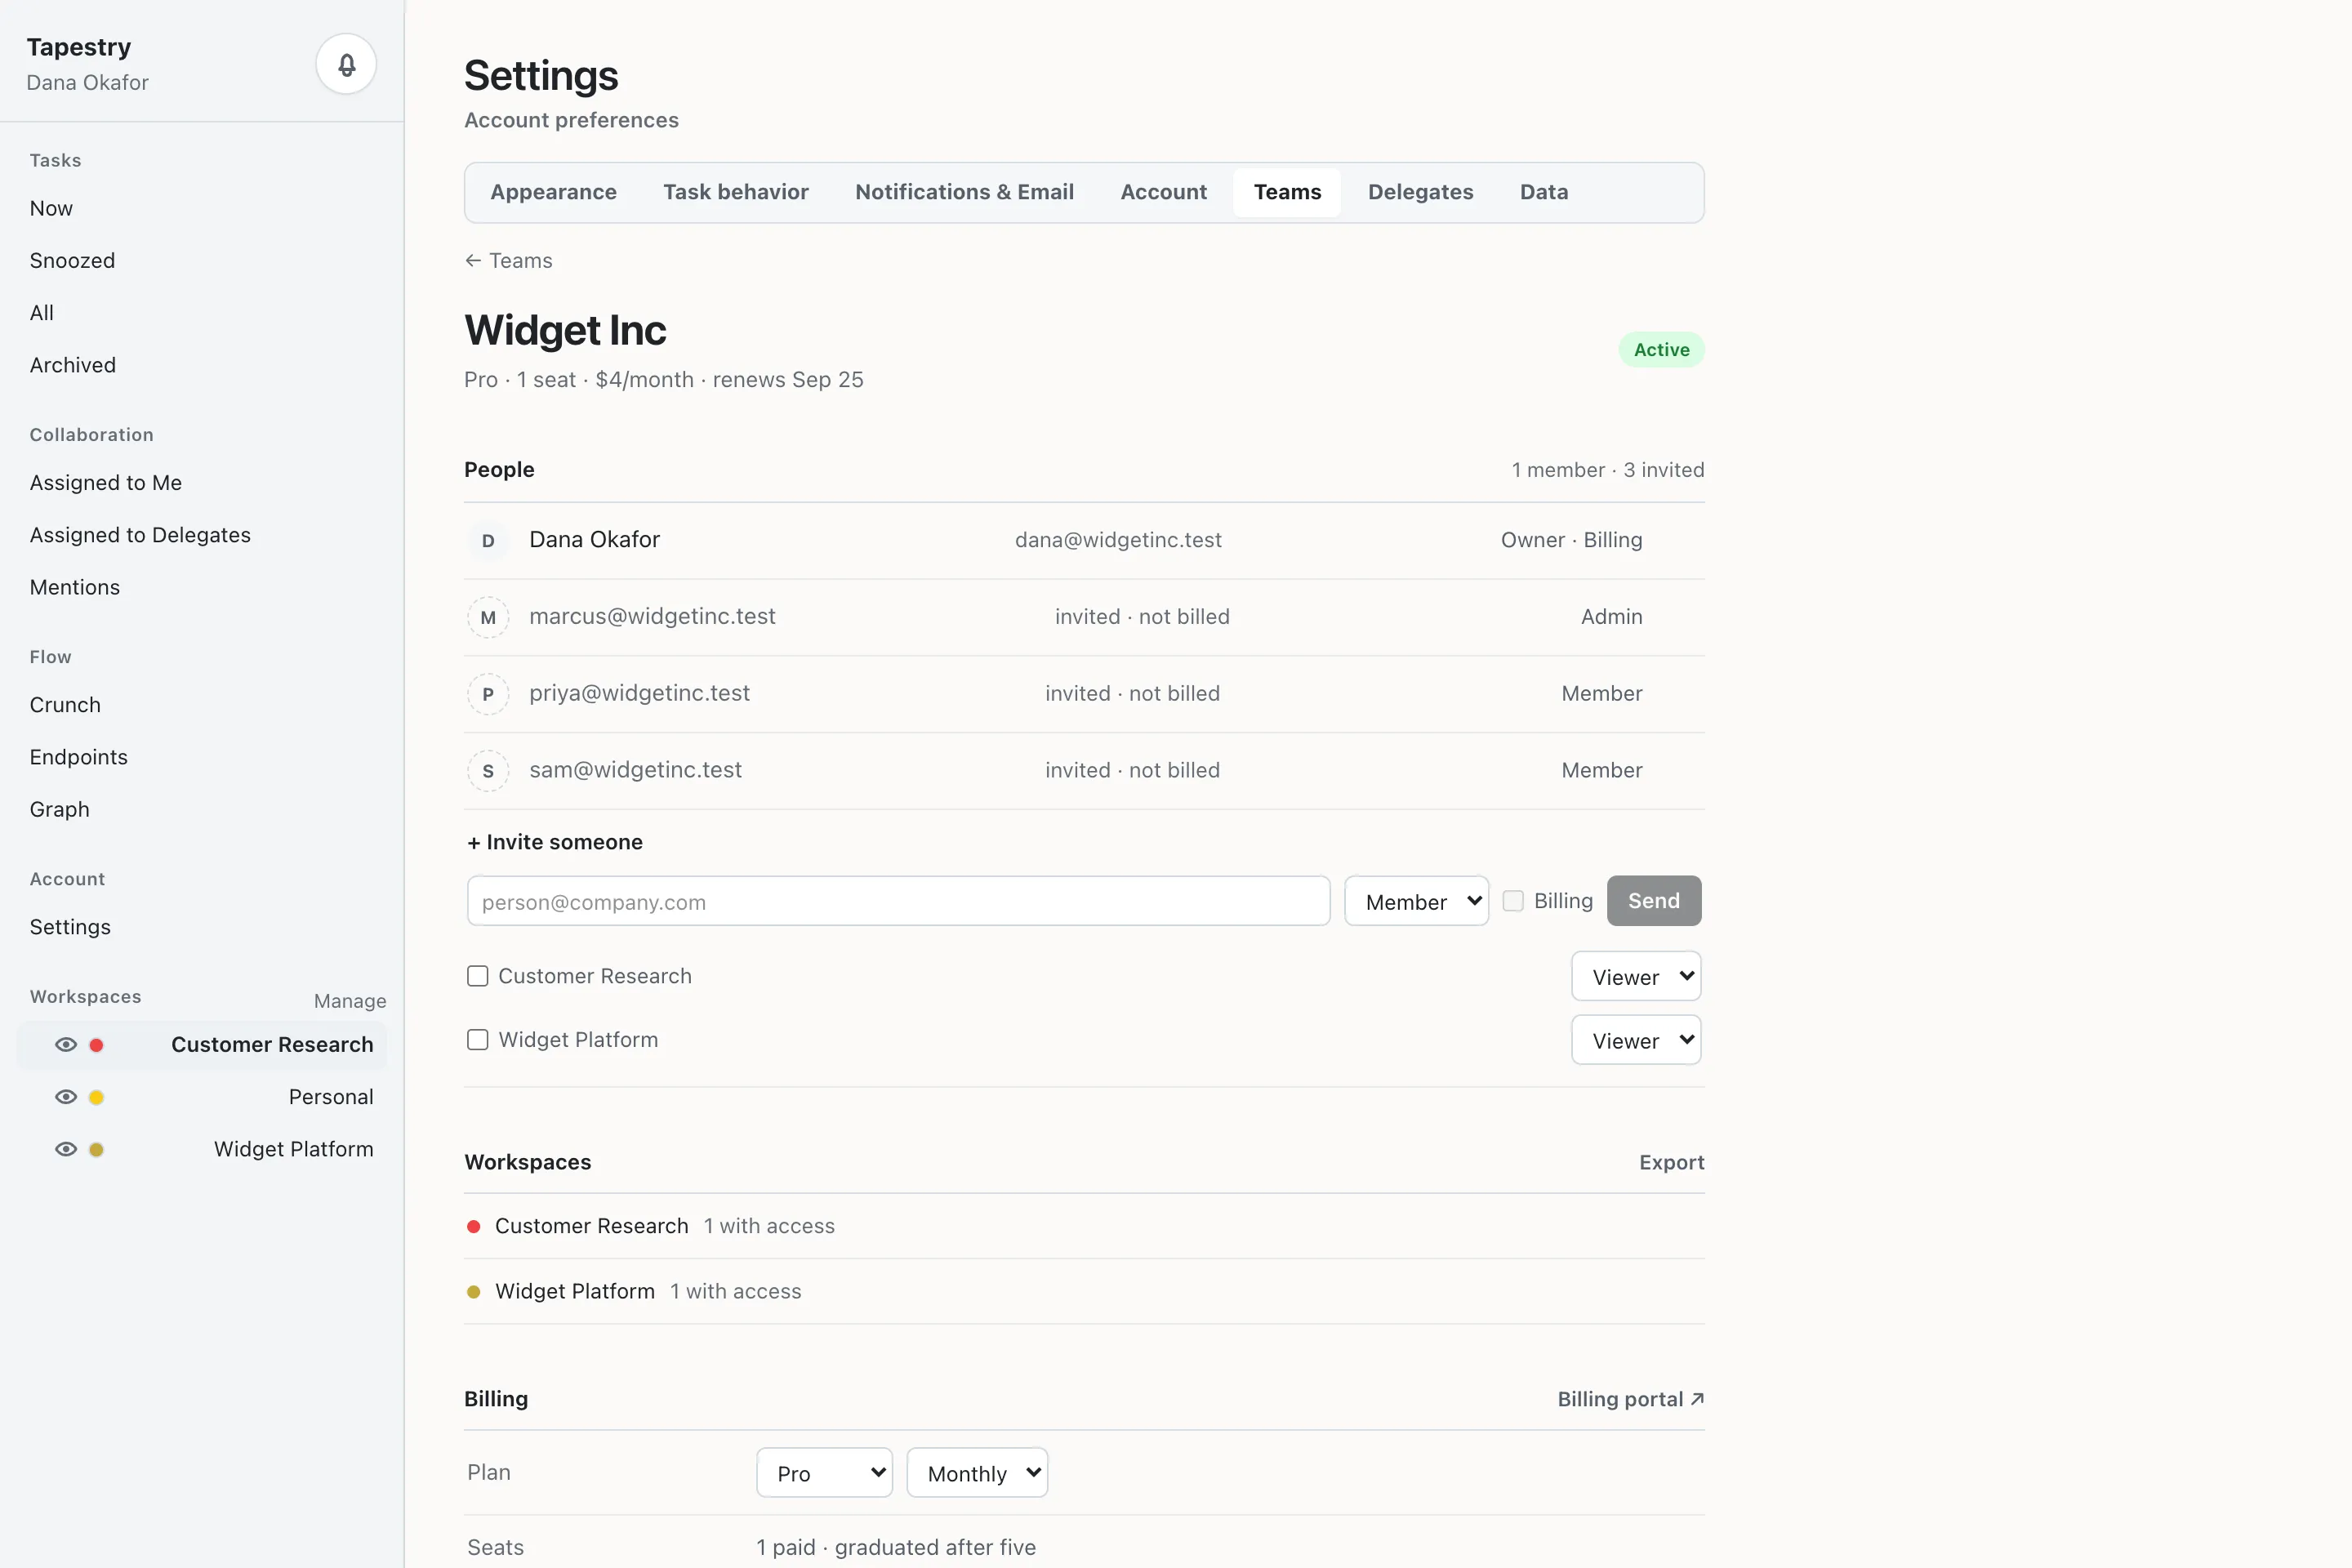
Once she has created the team, she can invite others to join as members or admins.
Roles
| Role | Invite people? | Manage billing? | Delete the team? | Make workspaces? | Share workspaces? | Approve Templates? |
|---|---|---|---|---|---|---|
| Owner | ✅ | ✅ | ✅ | ✅ | ✅ | ✅ |
| Admin | ✅ | ❌ | ❌ | ✅ | ✅ | ✅ |
| Member | ❌ | ❌ | ❌ | 🤔 | 🤔 | ❌ |
| ❌ = Not allowed | ✅ = Allowed | 🤔 = Admin-configurable |
Team Workspaces
Workspaces can belong to the Team rather than a person.
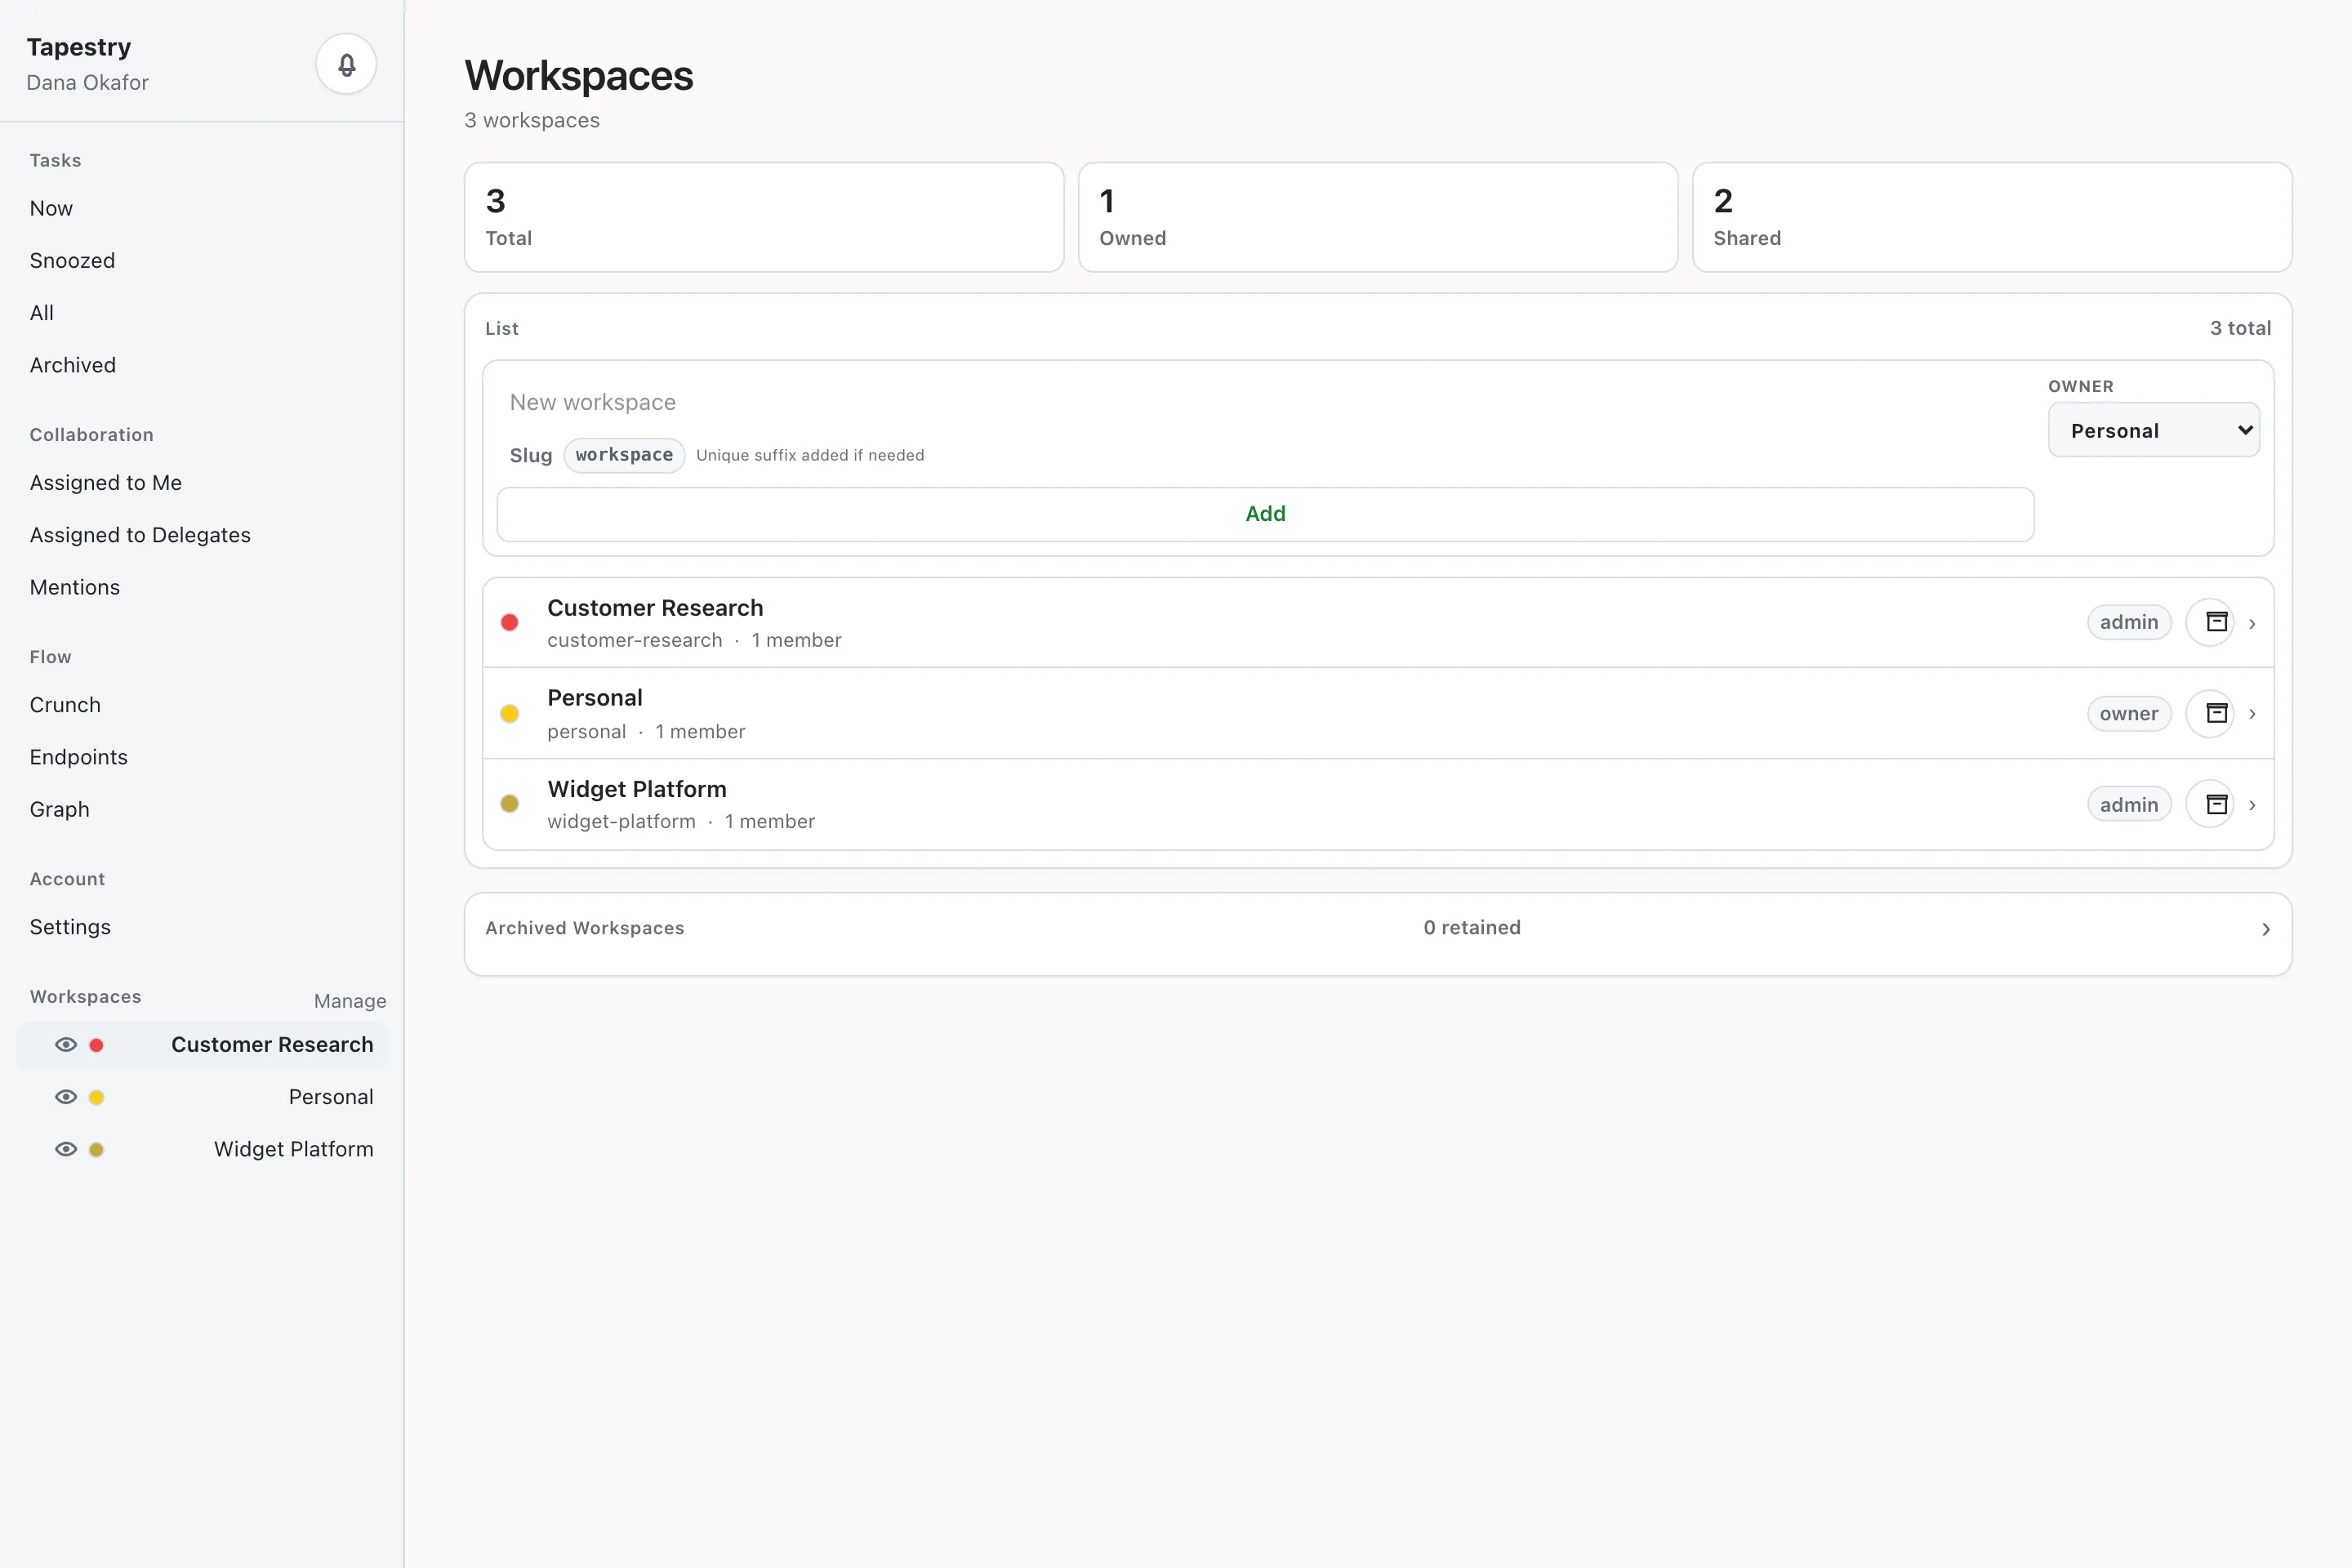
4. Adding people
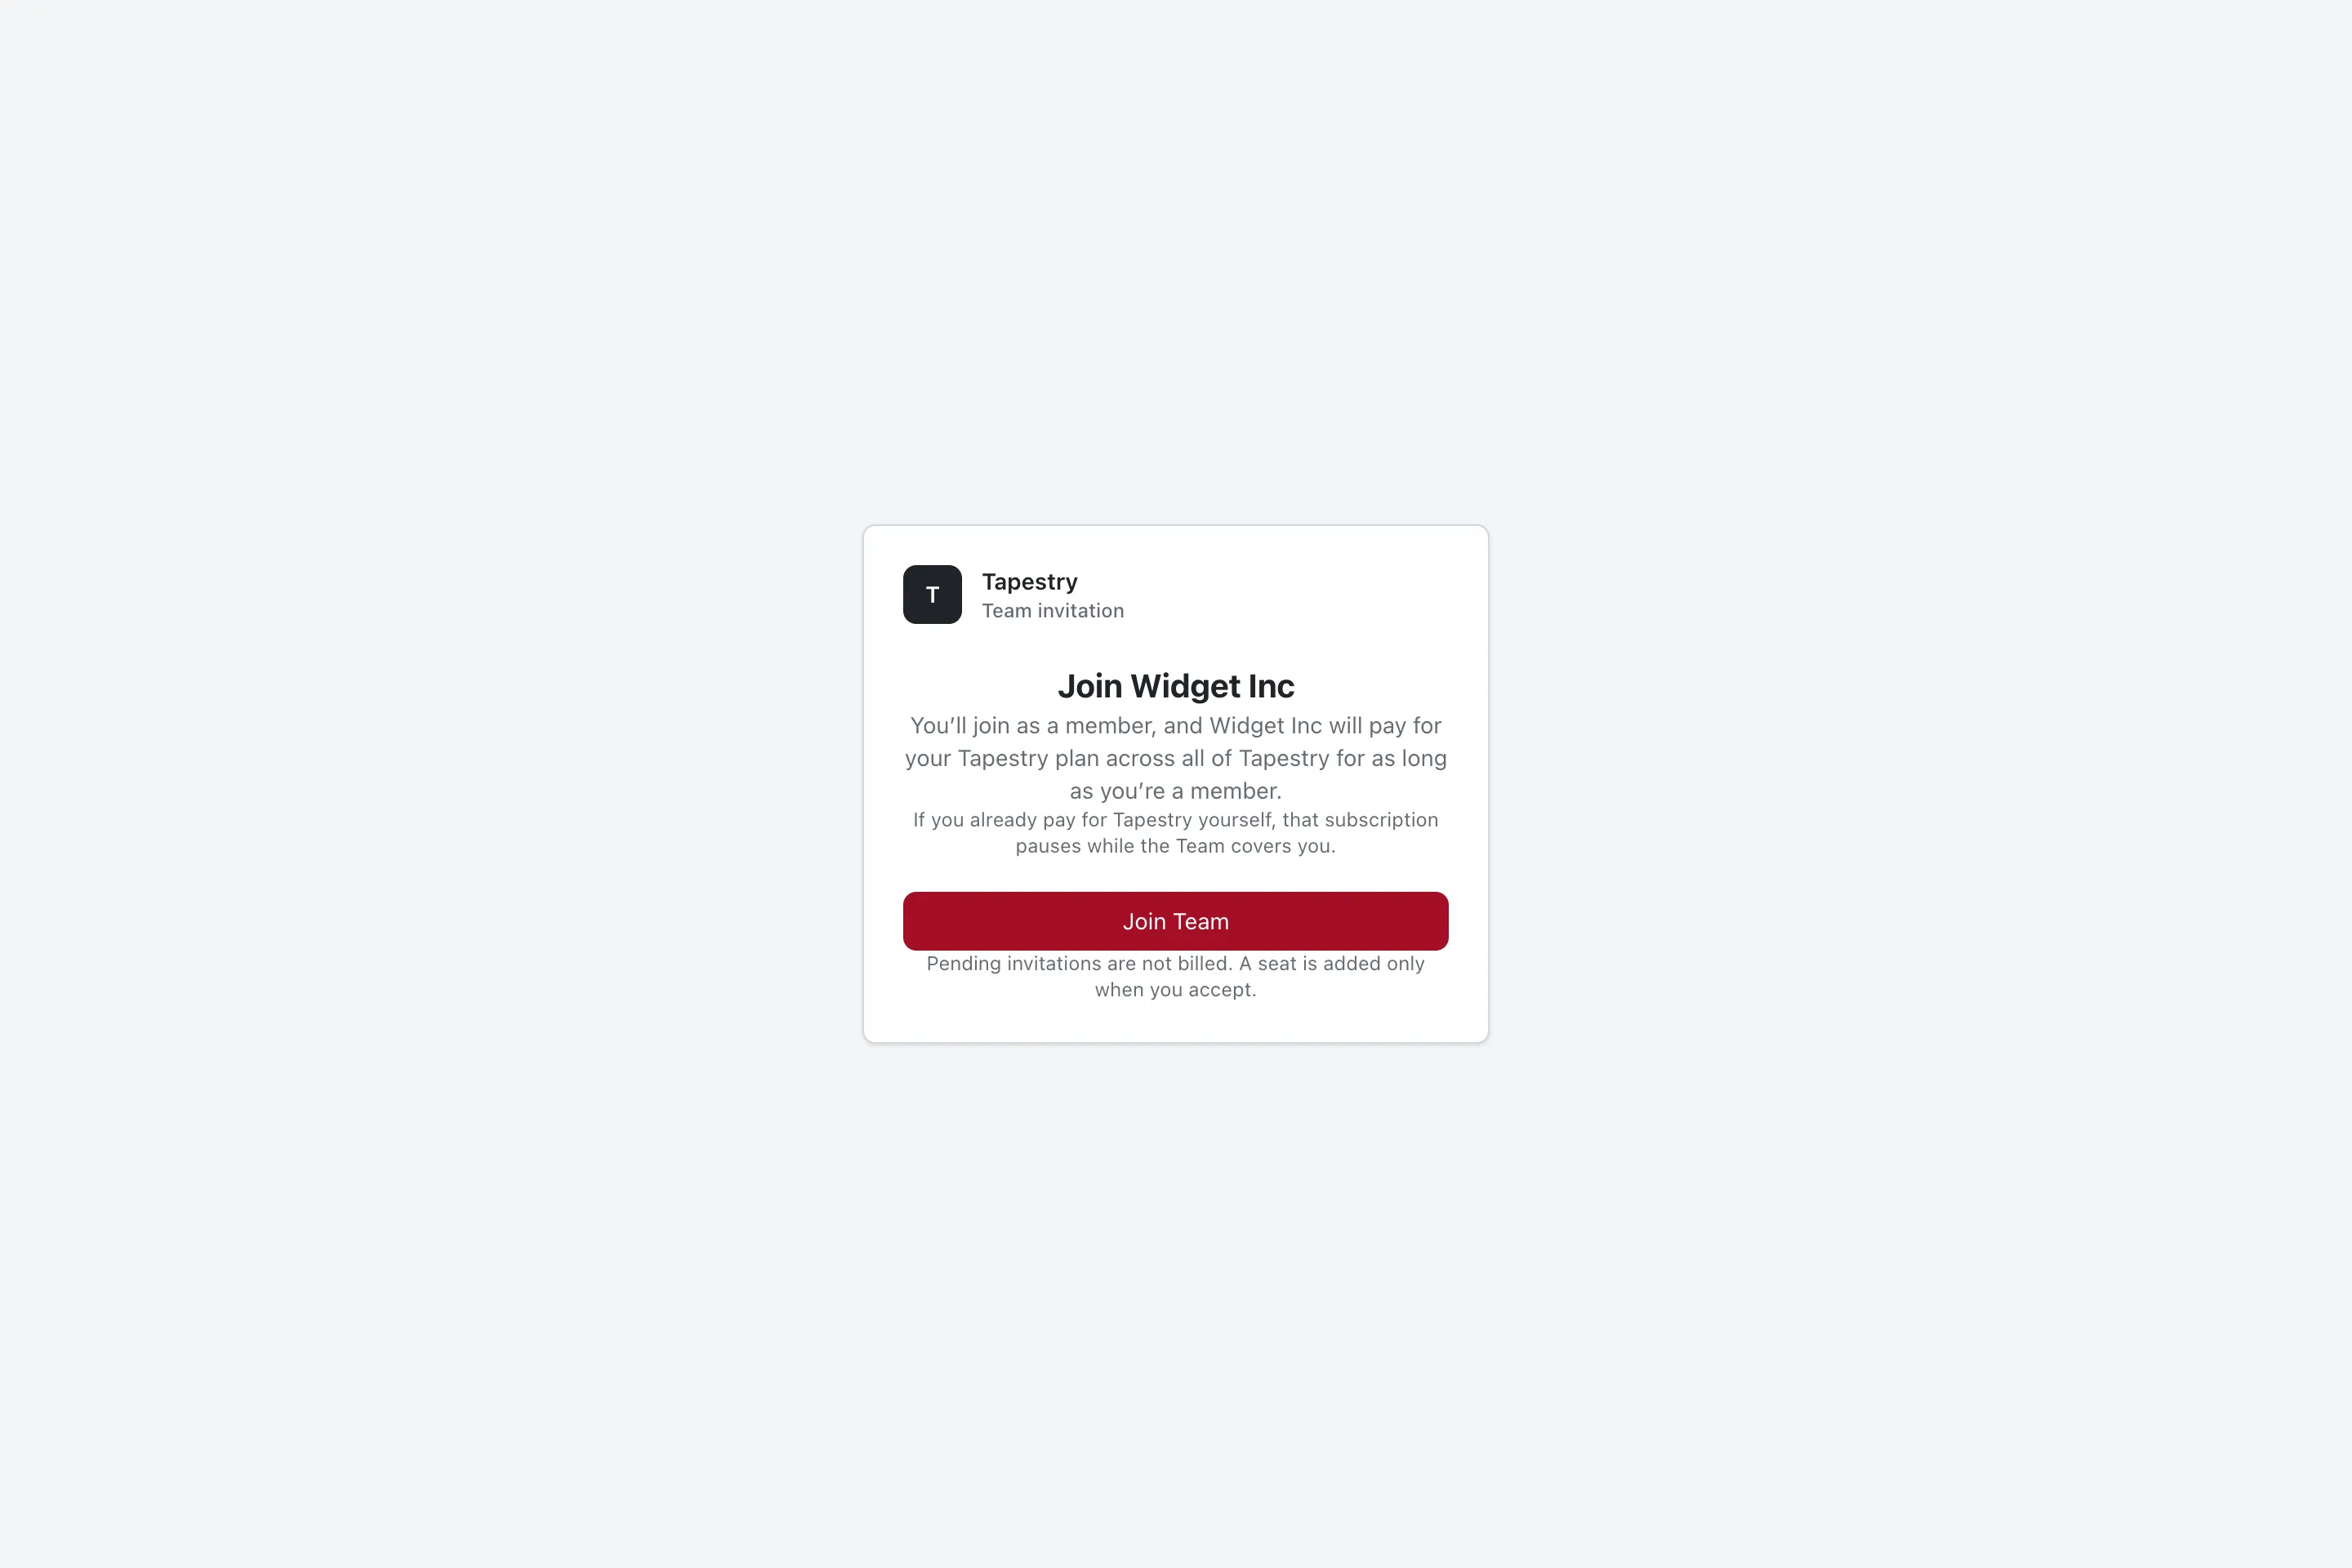
Pending invitations are not billed — a seat is added only on acceptance.
The invitation link is tied to the invited address.
Billing
Plans can be billed monthly or annually (for a discount), and you can change your plan at any time.
The price of Tapestry for Teams is discounted after five users. You do not need to have a legal incorporation status to use Tapestry Teams; groups of friends can use Tapestry Teams for the discounted price.
While a user has any Tapestry for Teams membership, they will get premium features on all of their workspaces, not just the Team workspaces. If you have a personal plan, it will be discounted 100% while you are a member of a Team. You will not be charged at all, but you will retain your premium features on your personal workspaces.